
Mabel + Violet’s Bedroom Makeovers | August 2018
Y’all, this was such a fun makeover to do. While not technically play spaces, the girls’ bedrooms are their main hubs and when you’re a pre-teen and beyond, I feel like your bedroom becomes your playroom. Mabel (10) and Violet (7) were darlings, letting me into their private spaces to take creative charge. Both girls were asked about their wishes for the rooms and with this in mind I got busy with what I think is my biggest makeover yet.
Mabel’s Room
Mabel’s room was all about embracing the motto “a place for everything and everything in its place”. Things were scattered in all the wrong places, and the furniture/storage that was available wasn’t being utilized. She also wanted the room to feel more like a big kid space – the decor hadn’t been updated since she was a baby. Her request was a space for her dolls and a reading nook. Here’s what we did:
- Moved out a surplus bookshelf and consolidated all her books onto the Kallax shelf (Mabel is an avid reader)
- Removed everything from the desk and organized all her writing implements and notebooks before putting it back.
- Hung a large mirror over the desk to make the room feel bigger and brighter.
- Removed the dark curtains and replaced with brighter lighter ones.
- Rearranged the layout of her dresser to open up the room more.
- Removed the cupboard door and hung curtains to make more space and create a little nook for her dolls.
- Turned the unused bottom bunk into a reading nook complete with twinkle lights, bookshelves, artworks, and new sheets and pillows.
- Hung new artworks specific to Mabel’s interests and an IKEA Dignitet line for hanging her artwork (old artwork was removed).
- Lots of organizing and cleaning.
- Still to come – a custom shelf for the top bunk for Mabel’s book and drink bottle. 🙂
BEFORE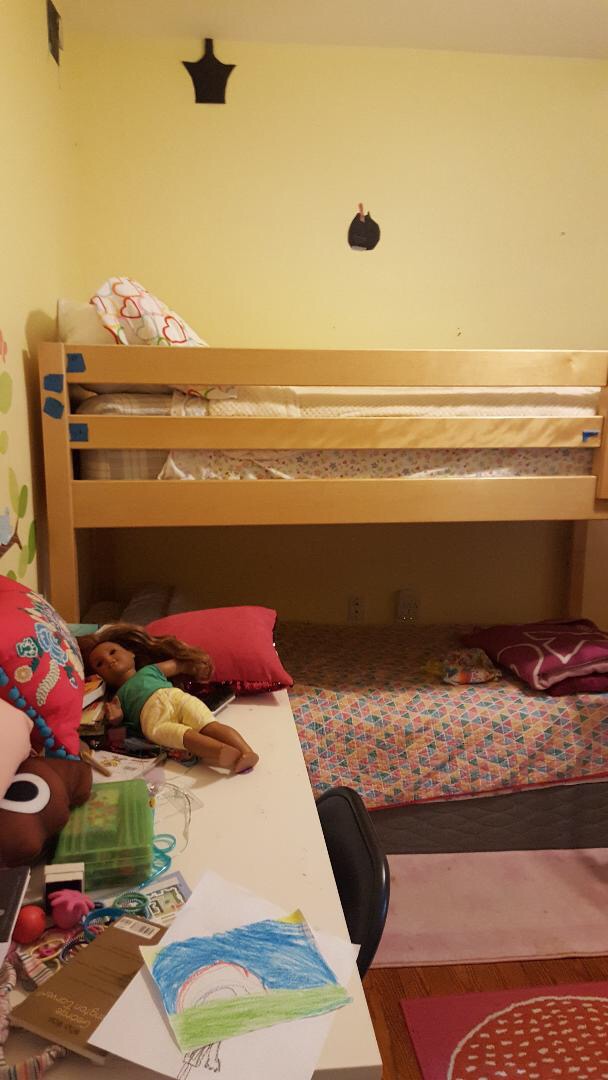
 AFTER
AFTER


 The play kitchen in the space was no longer being used productively, so we removed both the plastic kitchen and the wooden fridge to make space for a designated spot for the dollhouse (a favorite toy) and a building nook – something the twins’ parents hoped they would become more interested in.


