Postcard Writing with the Amabie (the Japanese Yokai that can stave off epidemics) | #curatedquarantineideas

Day one of quarantine with the kids, and we’re (knock on wood) off to a good start. I recognize I have a huge advantage in that a) I am primarily a stay home parent, b) I homeschooled my oldest for a year, c) I am an early childhood teacher, and d) my backyard is pretty much a playground. But even with all this on my side, the reality of social isolating is daunting and a huge pressure on parents. Luckily there are amazing resources and ideas being shared all over the place for folks to do with their kids, and I thought I’d share some ideas too.

Atlas’s Amabie Postcards

Today’s activity is a simple one: postcard writing, but with a pandemic twist. 😉 My dear friend Rebecca shared this amazing website which taught me about the legend of the Amabie in Japan.

“As legend has it, in the 1800s a mythical yokai appeared off the coast of Kumamoto, Japan. The Amabie, as it was called, was described as a mermaid-like creature with long hair, a beak and 3 legs. It made several predictions related to bountiful harvests and, before disappearing back into the sea, left the locals with some advice in case of an epidemic. According to records, “If an epidemic occurs, draw a picture of me and show it to everyone,” said the yokai.”

So we ran with the idea for our daily writing activity (one of the two more structured times we have scheduled). Using blank white postcards* (an easy purchase on Amazon), Atlas drew his version of an Amabie on the front of the cards (I encouraged him to reimagine it a little for every postcard). Then on the back he wrote asking his friend to send him a joke and signed his name off. We researched jokes online (which was a lot of fun) and I wrote down his favorite joke under his message, so his friend got to enjoy it too. We will find a new joke daily.

*The beauty of using postcards is that there is a nice space to draw, a small space to write (so there is no pressure to write a lot), and postcard stamps are less expansive than regular stamps.

We made a list of all the friends he would like to send a postcard to, and he chooses two a day to write to. Then he crosses them off the list once he is done. This way we can keep track of who he has already written to. 🙂

Face Painting With Watercolor Pencils

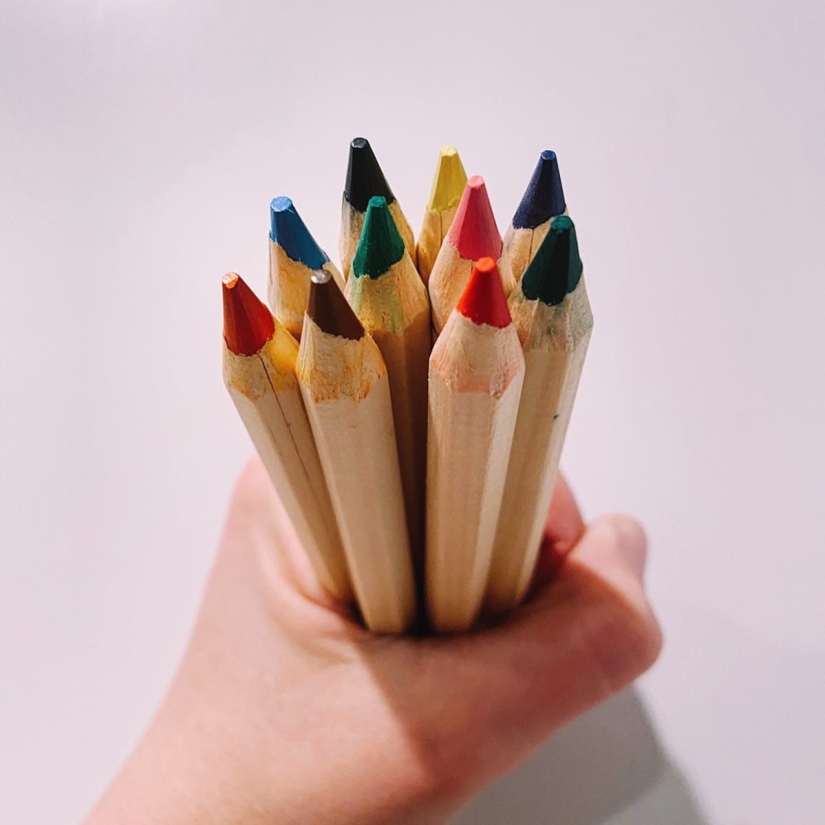
Do your kids love having their face painted (or in my kids’ case, their entire body besides their face)? Then get yourself some watercolor pencils and call it a day. Nothing beats them for basic face painting, especially when you have kids who like to DIY.

My favorite for the job are the $4 MÅLA pencils from IKEA. Just dip the sharpened end in water and get painting! The best part is the ‘paint’ just washes off with water. Pro tip – make sure to let them dry out (tip up) when done so they are easy to sharpen for the next go round.

Art With Kids – It’s The Process Not The Product (so just have fun)


For young children, it’s the process of making the art that matters vs the end product. They are interested in the way the colors mix, the drip of paint and glue being squeezed, the feel of the materials, and the enjoyment of peeling as many stickers off a sheet as possible. They don’t care if their end result always ends up baby poop brown 🤷🏼‍♀️, so neither should you.

Have fun with the making together. Get creative with the materials and tools you use (Pilot was very excited to have ‘space paper’ (foil) to paint on). And don’t feel pressure to save everything they make. Also remember that this is why it’s important for even young children to have good quality (which doesn’t have to mean $$$) materials. How can they enjoy mark making if the crayons and pencils they are using don’t leave a lovely bold mark?

A LEGO Space in LA | #inspiredbyCPS

Processed with VSCO with q5 preset

I have been in full pudding mode thanks to the flu, but my dear friends in LA have been working hard to create this #inspiredbyCPS LEGO space for their (almost!) six year old son. His baby sister is now on the move and Oliver was desperate for a nook in their apartment where he could build away from interested little hands. With a few clicks on Amazon, they had the perfect place for him to build – a wall mounted shelf desk, organized LEGO storage drawers, wall shelving for displaying his creations, and artwork/lighting for aesthetics (the lightbulb in the hanging light even changes colors so Oliver can set it for “different moods” :). He was so excited at the finished product he didn’t even wait for them to clean away their tools before he started building!

Mirrors | #curatedPSA + #unexpectedtoys

You might have noticed that I use mirrors in all my installs – inside and out. Aesthetically, they are an easy and inexpensive way to make your space feel bigger and brighter. I love adding large mirrors on walls opposite windows to reflect light, over desks and work spaces, or hung low to the ground so our small humans can watch themselves play and learn (side note – all kids love looking at themselves in the mirror).

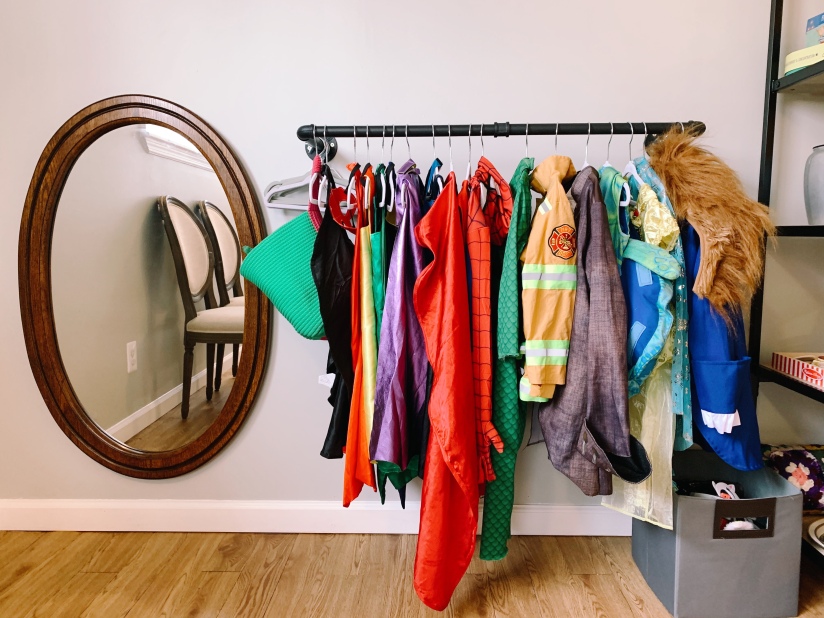
A long or full length mirror is also essential for your dramatic play nook (how else can you admire yourself post dress-ups?).

Outside I often hang mirrors over/around sandboxes and mud kitchens, but you can choose to hang anywhere where you want to add a little more dimension.

You can look to thrift a large (my general go-to) or get something simple like the NISSEDAL mirror from IKEA.

I also love to use small mirrors in play. You can buy acrylic mirror sheets, which are non breakable and make a really lovely play surface – for inside and out (note they will eventually get scratched). I’ve also used smaller square mirror sheets to create mirrored trays for a more portable play surface/display case.

I also keep a couple of table top/hand mirrors with my art cart. They are great when drawing portraits or for adding a new dimension to still life artworks. You can also use the acrylic mirror sheets as a washable canvas.

Heavy Work for Kids

Let’s talk about ‘heavy work’. 💪 Heavy work is any activity that requires you to put pressure on your muscles and joints as they are moving. During yesterday’s playgroup, there was some brilliant heavy work happening as the kids worked together to load up and push a wheelbarrow full of big rocks, which then transitioned to loading up and pulling each other around in a wagon. 🙂

“Heavy work helps your child in more ways than one. Aside from helping your child to feel calm and self-regulate, it also improves clarity and alertness, extends attention span, aids body awareness, and strengthens muscles.” (via Connections Therapy Center)

DIY Toy Picnic Basket | #inspiredbyCPS

We took down our tree today and packed away Christmas, with our eyes and hearts now firmly focused on the promises a new year brings. But before it’s all done and dusted, I had to repost this photo a dear friend shared my way. It’s her niece with the Christmas gift that was inspired by the work and ideas I share here. My friend thrifted the gorgeous picnic basket and all the fun accessories for it, and then topped it off with some cute Melissa and Doug Toys wooden play food. Can you even with how perfect this gift is?! Nothing makes me happier or prouder seeing what I do trickle out into the world in such beautiful inspiring ways. Keep tagging me, sharing your stories, and making my heart so full. And thank you for believing and trusting in me! x x

Felt Pieces | #unexpectedtoys

One of my littlest’s favorite gifts was a packet of stiff 8×12 colorful felt pieces (today’s edition of #unexpectedtoys). He loves to use them as part of his small world and block play, creating different landscapes for his characters to play on. Blue might be a swimming pool or an ocean when placed next to yellow sand. Green works well for grass and a place for the Paw Patrol to use the potty. 😉 Brown is dirt, and when he laid down all the colors it became a trampoline park.

To store when not being played with, I used a file organizer I had on hand and arranged them by color/shade to make it easy to find exactly the piece that’s needed.

Thrifting with kids | #curatedpsa

Dropped my first post-holiday load of things at the thrift store and popped inside to look for some more storage options for a play space I am installing this week. A quick browse turned into the motherlode (most of which was for me 🙈). Lots of retro linens for my boys’ beds, wool blankets for when we sit around the fire, plus a vintage blanket for our bed. Annnnd a few things for play spaces too, which totally justified the trip in the first place. 😉

Processed with VSCO with q5 preset

Note how at home my boys make themselves there – haha. A little #curatedpsa, I’ve found by saying yes to a toy or some books (always our first stop when we arrive), it makes the whole thrifting with kids things a breeze (and only costs me a couple of dollars – #everyonewins).

Creating magic with light!

For today’s playgroup session I turned our indoor clubhouse (as my boys lovingly call it) into a magical light box. We hung our Sarah’s Silks over one of the openings and placed a play invitation inside using all sorts of lovely twinkle lights, flashlights, and lanterns. The addition of the play silk was the first thing the kids noticed as they arrived and it was an immediate draw to climb the ladder to see what was inside. Next followed ‘oohs and ahhs’, and lots of work figuring out how the lights worked. Fast forward to tonight, and my Pilot was even more enamored to explore the space in the dark.

And listen, you don’t need a fancy indoor fort to create this magic. Throw a couple of tablecloths over your kitchen table and place a basket of battery operated Christmas lights and some flash lights underneath (don’t forget to sweep first ;). Find a big card box box and put your basket of lights in there. Or even just enjoy the light play once the sun goes down in a dark room (one plus to it being dark by 5.30pm).