Ring Ring! Old Phones are the JAM for Play! | #unexpectedtoys

Processed with VSCO with hb1 preset

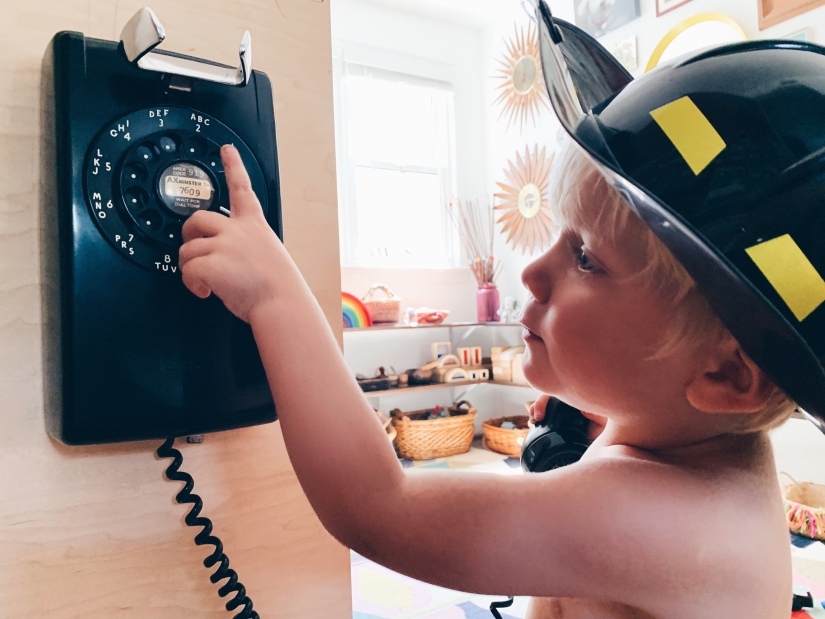
I have a weak spot for old things – people, pets, and play materials included (haha). When we moved into our house there was an old house push button phone, which we immediately put into our kids’ play kitchen space. It has been used 1000 times over since then to ‘call’ all sorts of people. We did the same thing with an old flip cell phone we had, and most recently I bought a beautiful old wall-mounted rotary dial telephone from a yard sale and added that to their play space. What I’m saying is that old phones* make excellent toys. They are the perfect dramatic play accessories that can be used to order food, call family and friends, dial in for a super hero, call the fire department, share spy messages etc etc. So next time you thrift, or you’re at your parents or even grandparents house, see what you can find and bring home with you. Your kids will thank you!

*I don’t recommend using iPhones or other touch screen type phones as a toy, because when dropped the screens can easily shatter and make tiny pieces of glass that are primed to cut skin.

Building a Family Play Space | #mylittlehome

Processed with VSCO with a6 preset

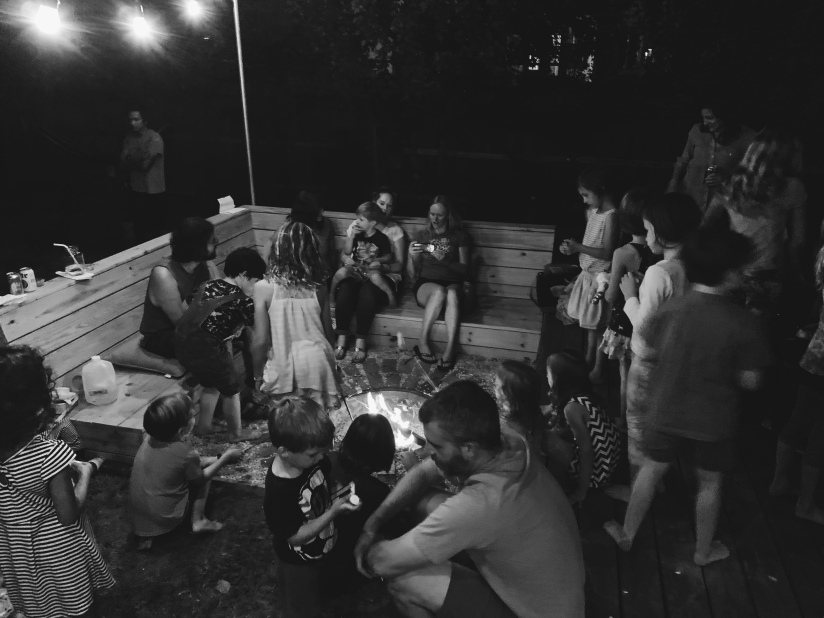
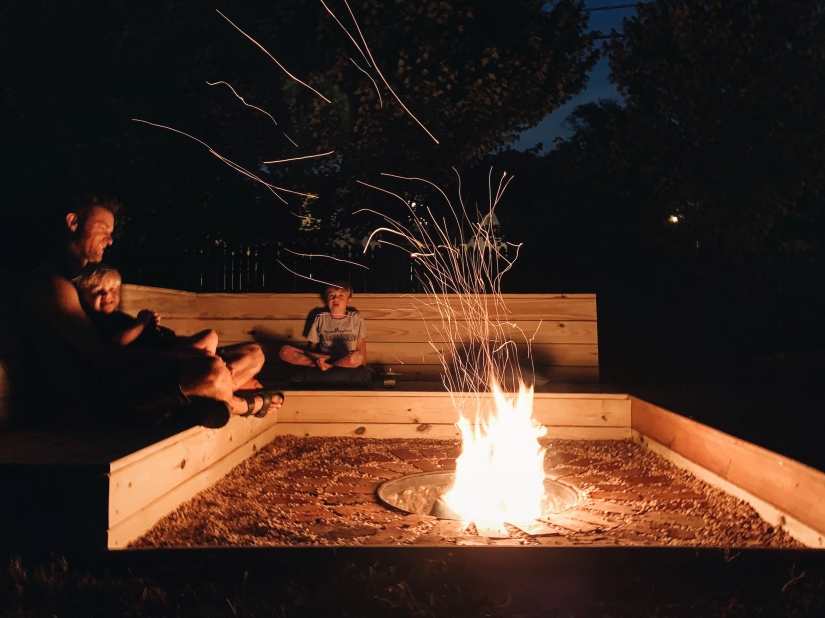
With the arrival of autumn and my birthday rolling around again, I decided my wish for the year was the creation of an outdoor sunken fire pit with wrap around bench seating (that’s reasonable, right?). Our back and front yards have been created entirely with our children in mind, but I wanted something Thomas and I could enjoy and use without the kids. And a place where we could enjoy the outdoors together and with friends, even when the days and nights get colder.

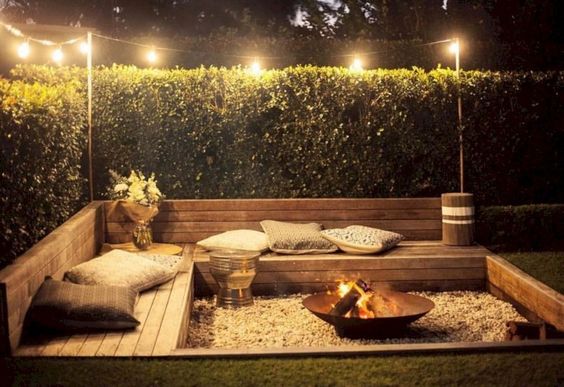
When creating an outdoor play space plan for a family recently, I came across this fire pit design as an inspiration for what they could build. I loved it so much however, that I kept thinking about it and it was the inspiration for what we built (or I guess I should say, what Thomas built). While perhaps not what I would typically call a play space, I wanted to include it on this blog because creating spaces for the entire family to enjoy together is so important too!

Unlike most of our projects, we bought new wood vs reclaimed for it (we just needed a lot and very definite pieces, plus we wanted it to feel like a seamless extension from our deck vs an add on).

My hope was that we could build it in a weekend (ha!), but the digging down in very hard dry soil took hours and hours, and honestly these things just take time. However two weeks later, after lots of late nights after work and continentally tacking away at it, we have a finished project! It will be stained in the coming weeks now the wood has dried out, but until it is getting quite a lot of use!

Processed with VSCO with b5 preset

The inspiration photo (source unknown)…

3d1bec982c0041963ab9a316d4a38f2c

Add a little personality to your play kitchen!

Want to vamp up your kids play kitchen to make it feel more personal and a little less plasticky? Hit the thrift store this weekend (or even better on their sale days) and treasure hunt some secondhand items for your tiny human. These are some of my favorite thrifted items from my boys’ play kitchen.

From L to R, top to bottom:

  • Salad spinner (this was one of my favorite things as a kid, and TBH after this pic was taken, Pilot discovered the newer clear much faster spinner in the basement and this little vintage yellow one is officially on the out).
  • Measuring cups
  • Folding sieve (these things are just cool)
  • Scale
  • Flour sifter
  • Fondu pot (these are always on the smaller size and often have pretty wooden handle and knobs)
  • Empty tins (vintage ones are so lovely)
  • Tongs
  • Food canisters
  • Cloth and hand towel (perfect for washing and drying dishes and hands)

My Indoor Play Space | #mylittlehome

img_0848

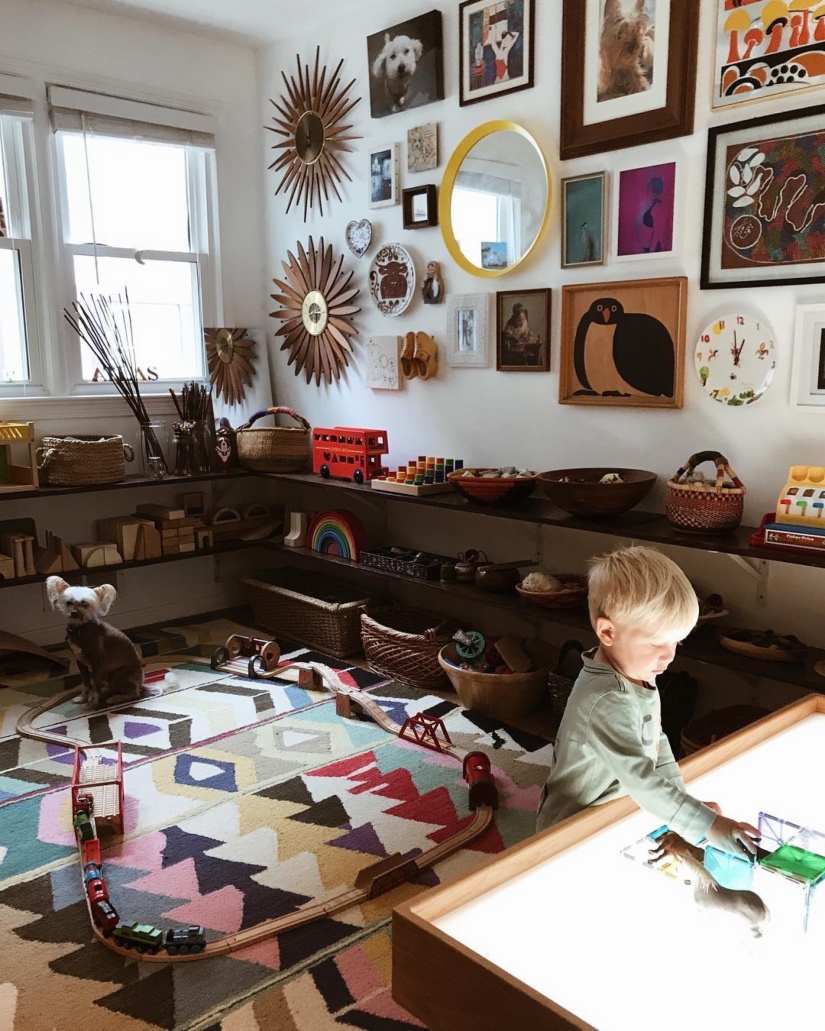
I love change. My mind never switches off and is constantly thinking of all the different ways I could do things, including play space design (obvi). Not just for the folks I work with but also my own home. Our house is very small and over the last 3+ years we have worked hard towards living a more minimalist life. We aren’t there yet and we (like every other person with children) have junk, but with time, research, patience, and being able to work on so many other people’s homes, we are getting closer to creating a dream space for our family.

My boys (now 2.5 and 6.5) share a bedroom and also have a shared separate playroom. This means we can keep their room a zen toy-free space (with the exception of LEGO, but that’s for anther blog) and I can put all my brain power into creating the perfect play space for them. This room changes a lot – not just materials, but the layout too. As my boys have grown so have their needs and interests. I’ve also learnt a lot about what works and what doesn’t for them when they play alone, together, and with friends.

Our current set-up may be its best iteration yet. We added really simple DIY pine shelving around the room, which freed up a lot of floor space for play. I downsized what toys and materials are out, and we also created a gorgeous gallery wall with all the little pieces of art we could never quite find the right place for. It is absolutely my favorite room in the house.

…On a side note, this is how you should feel about your play space too! Children’s spaces should not be messy, junk-filled eyesores. This is not conducive to happy engaging focussed play, and it’s not nice for anyone in the house to look at. Businesses do a good job making us feel like kids need their own specific everything, from rugs to plastic colorful everything, when really all the magic, fun, and color should come from them – not the furniture or decor.

An Outdoor Play Space Plan for a Family of Seven | July 2019

I was hired by the loveliest family to create an outdoor play space plan. Their children’s ages ranged from teenagers to still in utero, and they were desperate to create a place in their backyard for everyone to be able to enjoy. The husband in the family is super handy and able to do all the work, so they just needed help with the vision. After a visit to their home, we mapped out the section of garden we were going to use for the space and I got\ work. It was really fun researching and spending too much time on Pinterest 😉 to come up with the perfect set-up.

Their backyard BEFORE

In the end I created a plan and detailed document, laid out with photos and suggested materials etc. I wanted to share just the design sketch here to give you an idea of what we did. Drawing may not be my greatest strength, but this along with a detailed breakdown of what they should do, has set them on their way. I am getting regular updates on the projects and it is looking amazeballs!

img_0852

CURRENT update from the family (September)…

20190928_093758.jpg

Sandbox/Mud Kitchen feeling neglected? Just add shade and water!

Our little mud kitchen and sandbox area wasn’t getting much love recently, so I decided to spice things up to entice little friends back in. Step 1) adding some permanent shade over the sandbox with a $25 shade sail from Amazon. Step 2) water! The kids play area is as far from a spigot as possible, so I found a secondhand rain barrel for the area. After a good clean, we popped it on a little table so the faucet was easily accessible, and filled it up with the hose. Voila! And instant water source for my boys! It was a MASSIVE hit and they played outside all morning engineering waterways and making stew concoctions. ☼

f00beb01-6e16-412f-a50d-1633b4da56f4

Joysticks – the blast from the past your kids need! | #unexpectedtoys

PSA: old joysticks are an incredible open-ended toy. Recently while thrifting I found two old ones for a whopping $2 each. I brought them home (obvi), cut off the cords, and lay them out as a play invitation for my boys when they woke up. After finding them and trying to figure out what the heck they were, they built themselves a Star Wars inspired snow fighter and spent the morning saving the universe. “Pew pew! Pew pew!”

Lila + Kellan’s Play Space Makeover | July 2019

It’s been almost a year since I took on a play space makeover – homeschooling meant there just wasn’t time. However with Atlas in camp this week and him beautifully settled at a fantastic new school, I am slowly starting to take on little jobs again (and it makes me SO happy)!

My girlfriend just moved into a gorgeously renovated home and wanted help getting spaces set up for her two kids. Their unused basement was the perfect spot for the main play space, and so I spent the last few days ruthlessly purging (it has to happen, folks!), organizing toys, and meticulously sorting LEGO. Upstairs there is now an office nook for homework, and the kids have a little play alcove set up in their bedroom too. I worked with everything they already had (which is the case with most of the spaces I do), minus purchasing some extra LEGO storage. Artwork is still to go up, but her kids now have a dedicated space to play and call their own.

And yes, I forgot to take before pics. I’m obviously still a little rusty. 😉

Office Nook for Kids and Grown-Up

Basement Play Space

LEGO Organization

How I found it before it looked like this (and during the sorting process)…

Bedroom Alcove


A Little Free Library Space Just For Kids | #mylittlehome

img_0853

When we bought our house six years ago, the backyard was a jungle of weeds, dead trees, and a dilapidated chainlink fence. Over the years we have transformed it, including very early on erecting a six-foot wood fence (because as much as I love my neighbors, I need privacy and to feel like I have my own oasis). We live on a corner and our home backs an alleyway, and so permitting wise we had to caddy corner the back corner of the fence. This left a little triangular section of garden outside our perimeter that needed something other than dirt and weeds.

Rewind again, and six years ago my dearest friend’s baby passed away during childbirth. As a way of honoring her son, she asked friends to give books away in his name. This led to her sister establishing library shelves of children’s books in places of great need, under the name ‘Charlie’s Books’. I decided I wanted to honor Charlie in the same way, so we created our own Little Free Library just for kids in this space.

Over the years the plants have changed and grown, and this year we decided to create bean teepee over the reading bench, but it’s always been space where the neighborhood kids and folks passing by on their way to soccer or the playground, can stop and read, take a book, or leave some to share. And although this may not be a typical play space, I wanted to share because it’s something you could build for your front yard too as a way to create a space for all the children in your neighborhood.

Audra’s Play Space Makeover | October 2018

Unfortunately I seem to have misplaced my final ‘after’ pics, so you’ll just have to use your imagination for this one with the pics I took while a work in progress.

Like every family who has their first baby, you start to collect an insane amount of stuff. Gear, toys, clothes, books etc – the list is long. As your little one grows you often don’t want to let go of the baby things, because what if you have another?! It’s also hard to let go of all the tiny cute baby things (I get it, I’m there). As a first time parent it can also be a bit mystifying knowing when to make that jump from baby stuff to toddler stuff.

Audra’s parents are in all those categories. Being very much a toddler now, they hadn’t made that switch yet from babyhood with her play spaces. Audra has her own bedroom, which they wanted to update into less of a nursery and more a space she could grow into. They also use their living room as a place for her to play, and they have a huge finished basement just begging to be a play space too. Budget was also a big factor, so it was important to work with what they had as much as possible.

Here’s what I did in each space.

BEDROOM

  • Removed the nursery decals from the bedroom walls and replaced with family photos, artwork, and a mirror.
  • Rearranged furniture to create a more functional footprint in the room.
  • Replaced the curtains.
  • Added a small bookshelf for additional book storage.

BEFORE

AFTER

Living Room 

  • Downsized the toys and books that were in this space and reorganized them into baskets. This made things easier to find and clean up for Audra.
  • Removed the small table and chairs to the basement space and added a coffee table (no picture of this, whomp whomp). This gave a Audra a space too work and the family an extra surface for drinks etc.
  • I also added new open ended toys like a train track and trains to this space, vs the plastic ones that were here previously.

BEFORE

AFTER


Basement

  • I removed the large plastic play pen that was serving no purpose anymore.
  • Similar to Evie and John’s play space, I used a Kallax shelf the family already had and some decals to create a little play kitchen along with toy storage.
  • Added an Ikea Raskog cart as an art cart and built a wall mounted easel.
  • Hung a large engineering print using a favorite photo of Audra.
  • Utilized the whole room to create different areas where Audra can play. The family weren’t ready to ditch the foam tiles (sigh), so we used them to delineate a little building nook like we would a real rug.
  • Added a lot more open-ended toys and materials, and removed a lot of plastic baby toys that were no longer age appropriate.

BEFORE

AFTER